Healthy Peppermint Bark (Dark, Snappy and Minty)
In this article:
Why You Will Love This Healthy Peppermint Bark Recipe
Healthy peppermint bark earns its place in your holiday kitchen because it delivers everything you love about the classic candy with none of the sugar crash. The dark chocolate base snaps cleanly between your teeth, then melts into deep cocoa richness. A cool wave of peppermint follows, bright and refreshing, while crushed candy canes add a festive crunch on top.
The secret is the double layer method, which keeps the dark and white chocolates distinct instead of swirling into muddy brown. A brief chill between layers lets the dark chocolate set just enough to grip the white layer poured on top. Coconut oil keeps both chocolates fluid and glossy as you spread them, so the finished slab looks like it came from a chocolatier.
Unlike the frozen yogurt barks crowding the internet, this version holds its snap at cool room temperature, which means you can wrap it in cellophane bags and give it away. Each piece carries real chocolate flavor, not the tang of yogurt pretending to be dessert. Make it once and it becomes the December treat your family requests by name.
I developed this recipe for holiday gift boxes that need to look impressive and travel well without melting. There is no oven involved, no tempering thermometer, and no fussy technique, just melting, pouring and chilling. Fifteen minutes of real work gives you a full pan of glossy, giftable bark.
Healthy peppermint bark is the December treat that finally lets you have it all: glossy layers of dark and white chocolate, a cool rush of real peppermint, and a ruby red crunch of crushed candy cane, with no refined sugar anywhere in sight. It looks like the fancy tins sold at the mall, but it comes together on one baking sheet with about fifteen minutes of actual work. The whole kitchen smells like a candy shop while it chills.
Picture the scene: a fire crackling, mugs of something warm nearby, and a platter of this bark broken into rustic shards that catch the light. The dark layer gives a satisfying snap, the white layer melts creamy and sweet, and the peppermint keeps every bite bright instead of heavy. It is the kind of dessert that makes an ordinary Tuesday in December feel like Christmas Eve.
This recipe skips the oven entirely, which matters when your oven is already busy with cookies and roasts. You melt, you pour, you chill, and you break. Even kids can crush the candy canes and sprinkle them on top, which makes this a perfect family project for a snowy afternoon.
Taste and Texture Profile
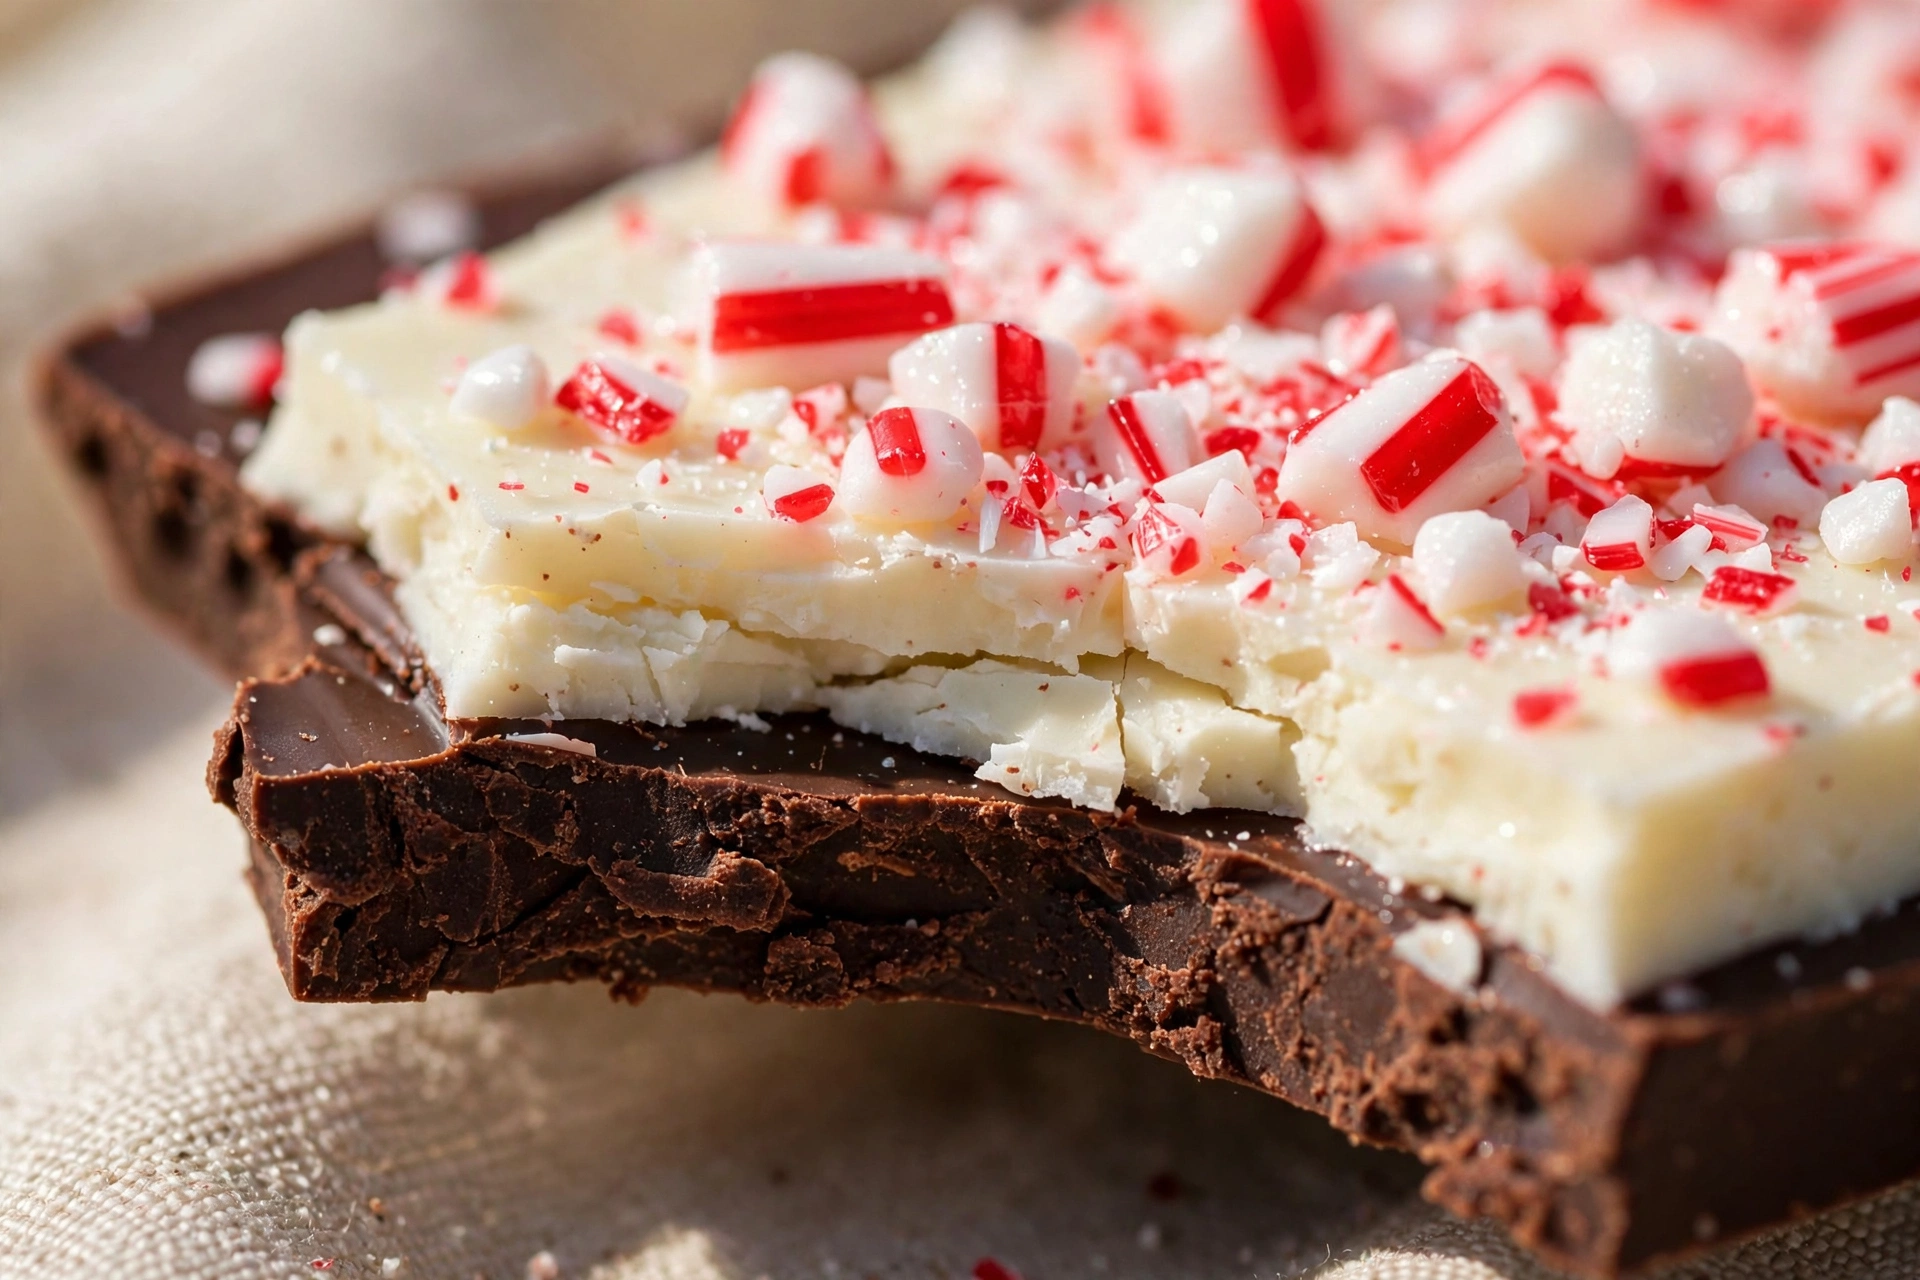
The first thing you notice is the snap. Good bark should crack with a clean, sharp sound, and this one does, thanks to real chocolate melted carefully with a spoonful of coconut oil. Your teeth meet the dark layer first: intense, slightly bitter cocoa that coats the tongue with richness. Then the white layer takes over, creamy and sweet with a gentle vanilla warmth.
Peppermint runs through both layers, but it behaves differently in each one. In the dark chocolate it reads as cool depth, a refreshing lift that keeps the cocoa from feeling heavy. In the white layer it blooms into something brighter, almost like the center of a peppermint patty, sweet and invigorating at once.
The crushed candy cane topping adds the third texture: a glassy, sugary crunch that shatters between your teeth. Tiny red and white shards melt on the tongue and release one last burst of mint. A pinch of flaky sea salt on top sharpens everything, making the chocolate taste more chocolatey and the mint more vivid.
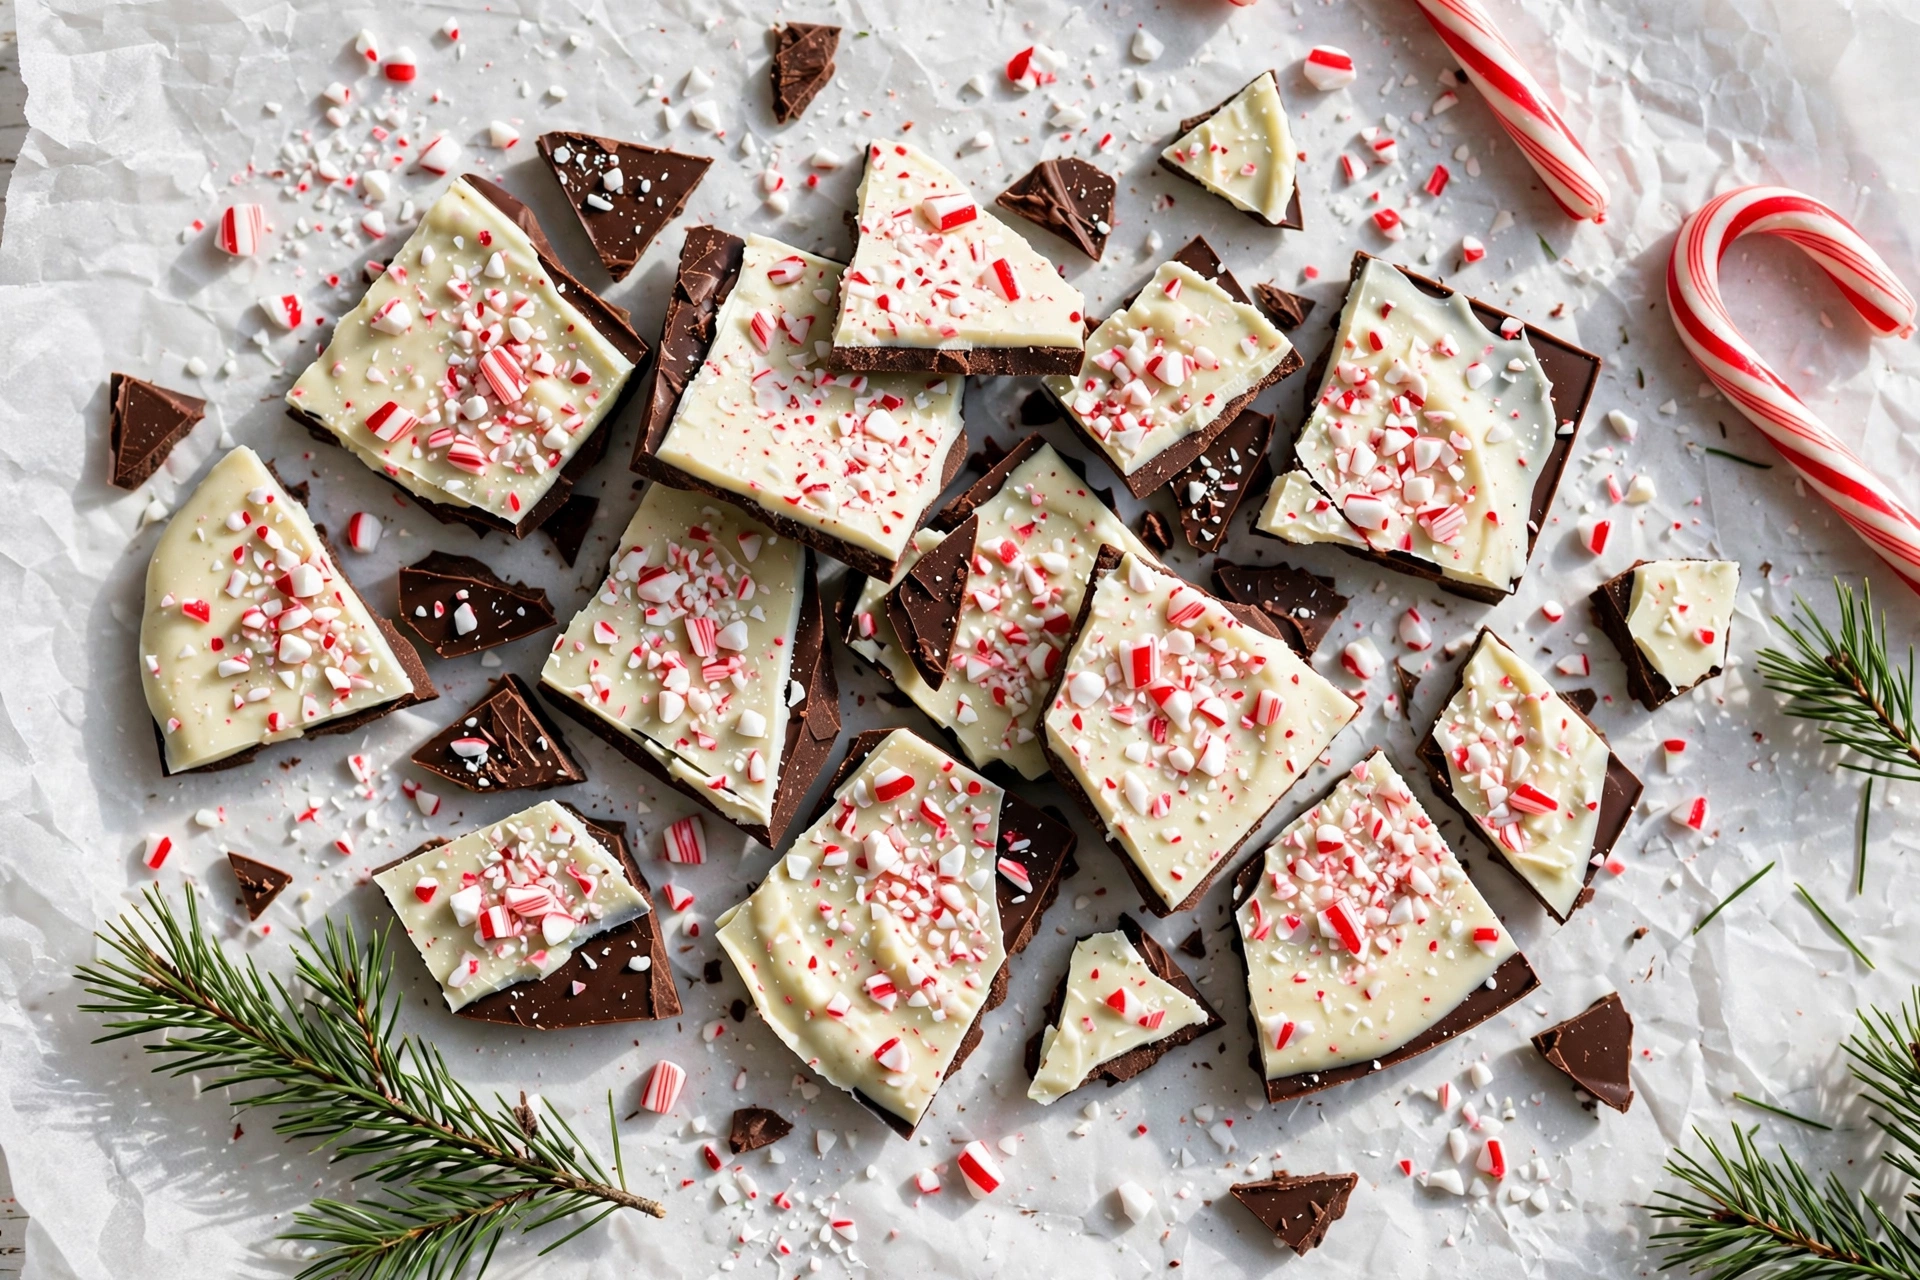
Visually, this bark is pure holiday theater. The dark base is glossy and near black, the white layer sits on it like fresh snow, and the ruby red candy pieces scatter across like ornaments. Break it into irregular shards instead of neat squares, because the rustic edges catch the light and look stunning on a platter. Serve it slightly cool, straight from the fridge, when the snap is at its sharpest.
Quick and Easy Preparation
This is a true no bake recipe, which means your oven stays free for the cookies, roasts and casseroles of the season. From the moment you chop the chocolate to the moment the pan goes into the fridge, about fifteen minutes pass. The fridge does the rest of the work while you wrap presents or sip tea.
Everything happens on one rimmed baking sheet lined with parchment, so cleanup takes less time than brewing coffee. You melt the dark layer, spread it, chill it briefly, then melt and pour the white layer right on top. A zip top bag with a snipped corner works as a piping bag if you want to drizzle, but a simple pour looks beautiful too.
The timing is forgiving, which makes this ideal for beginners and for baking with kids. If the dark layer sets completely before you pour the white, just let it sit at room temperature for a few minutes so the layers bond. Serve it at holiday parties, tuck it into cookie boxes alongside healthy Christmas sugar cookies, or keep a container in the fridge for December guests who drop by unexpectedly.
Because there is no dough to rest and no oven to preheat, you can start this bark on a whim and finish before a holiday movie ends. It is the rare December dessert that fits into a genuinely busy evening. Keep the ingredients on hand and you will reach for this recipe more than once this season.
Lighter and Diet Adaptations
The base recipe is naturally gluten free, with no flour anywhere in sight, and the white layer gets its sweetness from pure maple syrup instead of refined sugar. Choosing a dark chocolate with 70 percent cacao or higher keeps the sugar low in the base layer. Each piece lands around ninety calories, a fraction of the store bought tins, and you can compare typical values on the USDA FoodData Central database.
For a fully dairy free version, build the white layer from cocoa butter and coconut butter exactly as written, since neither contains any dairy. Most dark chocolate above 70 percent cacao is naturally dairy free, but check the label to be sure. Coconut oil replaces any butter in the method without changing the snap, and the result tastes just as festive.
Paleo bakers can sweeten the white layer with raw honey instead of maple syrup and choose a paleo friendly dark chocolate. Swap the candy cane topping for crushed freeze dried raspberries if you want to skip all added sugar on top. Cutting back on added sugar during treat season helps keep energy steady through long December days, a point echoed by MedlinePlus.
Ingredients
For the dark chocolate layer:
- 8 ounces (225 g) dark chocolate, 70% cacao or higher, chopped (or dark chocolate chips)
- 1 tablespoon coconut oil
- 1/2 teaspoon pure peppermint extract
- Pinch of flaky sea salt
For the white chocolate layer:
- 1/2 cup (110 g) food grade cocoa butter, chopped
- 1/4 cup (60 g) coconut butter, softened (or raw cashew butter)
- 3 tablespoons pure maple syrup
- 1/2 teaspoon pure peppermint extract
- 1/2 teaspoon pure vanilla extract
- Pinch of fine sea salt
For the topping:
- 3 to 4 candy canes, crushed into small pieces (or sugar free peppermint candies)
Step by Step Instructions
- Line a rimmed quarter sheet pan (9 x 13 inches) with parchment paper, leaving overhang on two sides for easy lifting. Crush the candy canes by sealing them in a zip top bag and tapping gently with a rolling pin until you have a mix of small shards and crumbs.
- Melt the dark chocolate and coconut oil together: place them in a microwave safe bowl and heat in 30 second bursts, stirring well between each, until smooth and glossy. You can also use a double boiler over barely simmering water, keeping every drop of water away from the chocolate.
- Stir the peppermint extract and the pinch of flaky sea salt into the melted dark chocolate until fully combined. Pour it onto the prepared pan and spread into an even layer about one quarter inch thick, nudging it into the corners with an offset spatula.
- Refrigerate the dark layer for 12 to 15 minutes, just until it looks matte and feels firm but still slightly tacky to a light touch. This partial set is the key to layers that stay bonded instead of sliding apart later.
- While the dark layer chills, melt the cocoa butter gently in a clean dry bowl using the same 30 second microwave method or a double boiler. Whisk in the softened coconut butter until completely smooth, then whisk in the maple syrup, peppermint extract, vanilla extract and fine sea salt.
- Pour the white mixture over the partially set dark layer and spread gently to the edges without pressing down. Work quickly but calmly, since the cool dark layer will start firming the white layer on contact.
- Immediately sprinkle the crushed candy canes evenly over the white layer, pressing the larger pieces in very lightly with the back of a spoon so they stick. Refrigerate the whole pan for at least 45 minutes, until the bark is completely firm and cold.
- Lift the bark out using the parchment overhang and break it into irregular pieces with your hands, or cut it with a large sharp knife warmed under hot water and dried. Arrange the pieces on a platter and serve slightly cool, when the snap is at its best.
- Store any leftovers in an airtight container with parchment between the layers, at cool room temperature for up to one week or in the fridge for up to three weeks. Try not to eat half the batch while breaking it, though nobody will blame you.
Pro Tips for Perfect Results
The single most common failure is layers that separate, and the fix is timing. If you pour the white layer onto a fully hardened dark layer, the two never bond; if you pour onto liquid chocolate, they swirl together. Aim for that in between stage, firm and matte but still faintly tacky, and the layers will fuse into one snappy slab.
Keep water far away from melting chocolate, because even one drop can make it seize into a grainy paste. Dry your bowls, spatulas and hands before you start, and never cover melting chocolate with a lid that drips condensation. If seizing happens anyway, stir in a teaspoon of warm coconut oil at a time until it loosens.
This healthy peppermint bark rewards patience in the final chill, so give it the full forty five minutes even if it looks set sooner. Cutting too early leaves soft centers that smear instead of snapping. A large chef knife warmed under hot water and wiped dry glides through cold bark, but honestly, breaking it by hand gives the prettiest rustic shards.
Taste your peppermint extract before you measure, because brands vary wildly in strength and a heavy hand turns festive into medicinal. Start with the listed amount, then add a drop more to the white layer only if you want extra punch. Remember that the flavor blooms stronger as the bark chills, so judge it after an hour in the fridge, not straight from the bowl.
Easy Swaps and Tasty Variations
Once you master the base, this bark welcomes playful twists. Swap the peppermint extract for orange extract and a little orange zest for a chocolate orange bark that tastes like the holidays in a different key. Or fold a teaspoon of instant espresso powder into the dark layer for a mocha peppermint version that coffee lovers will fight over.
For the topping, crushed freeze dried raspberries add tartness and a gorgeous ruby color without any added sugar, while toasted chopped pistachios bring a salty crunch and a jewel green contrast. A drizzle of extra dark chocolate across the white layer, applied with a fork, turns each piece into a little work of art.
Nut lovers can stir two tablespoons of finely chopped toasted almonds into the dark layer before spreading, which adds chew against the snap. If you avoid certain dyes, check your candy canes, since some brands use colors you may prefer to skip; naturally colored peppermint candies work the same way. Pair a batch with a mug of healthy hot chocolate for the ultimate December night in.
If peppermint is your favorite holiday flavor, serve this bark on a platter with healthy peppermint truffles for a double mint dessert board. The truffles are creamy and rich while the bark is snappy and cool, and together they cover every texture a mint lover could want. Add some fresh rosemary sprigs around the platter for a festive look.
How to Store This Healthy Peppermint Bark and Make Ahead
This healthy peppermint bark keeps beautifully, which is exactly why it makes such a good gift. Store it in an airtight container at cool room temperature for up to one week, layering parchment between the pieces so the candy topping does not stick. Keep it away from heat and sunlight, since the white layer softens faster than the dark.
For longer storage, the refrigerator extends freshness to three weeks, and the freezer holds it for up to three months in a zip top bag with the air pressed out. Thaw frozen bark in the fridge overnight rather than on the counter to avoid condensation on the chocolate. It tastes best slightly cool, when the snap is sharp and the mint is bright.
Make it up to two weeks ahead of any holiday event and stash it in the fridge, which frees your December schedule for the fussy recipes. Pack pieces in small cellophane bags tied with ribbon for teachers, neighbors and hosts, and they will look like a boutique purchase. A box of this bark alongside a tin of healthy almond snowball cookies makes a gift anyone would be thrilled to receive.
Conclusion
Healthy peppermint bark proves that holiday candy does not need a single grain of refined sugar to feel like pure celebration. It snaps, it shines, and it tastes like December in every cool minty bite.
Make a batch this weekend and watch how fast it disappears from the platter. Then make a second batch, because the first one never survives until the party. Some recipes are worth repeating all season long, and this is one of them.
FAQ
Why did my two layers separate when I broke the bark?
The layers separate when the dark chocolate was fully hardened before the white layer went on, so the two never bonded. Pour the white mixture when the dark layer looks matte and feels firm but still slightly tacky to a light touch, usually after 12 to 15 minutes in the fridge. If your dark layer already set rock hard, let it sit at room temperature for five minutes before pouring.
Can I use regular white chocolate chips instead of making the white layer from cocoa butter?
Yes, melt 6 ounces of white chocolate chips with 1 tablespoon of coconut oil and use it exactly like the cocoa butter layer. Most white chocolate chips contain refined sugar and milk, so the bark will be sweeter and will not fit a dairy free or refined sugar free diet. For the healthiest result, choose naturally sweetened or dairy free white chocolate chips.
My chocolate seized and turned grainy. Can I save it?
Seizing happens when even a tiny drop of water touches melting chocolate, which makes the cocoa solids clump. Stir in warm coconut oil one teaspoon at a time until the chocolate loosens back into a smooth mixture. Prevent it next time by drying every bowl, spatula and utensil before you start, and never letting steam or condensation drip into the bowl.
Will this bark hold up at room temperature on a dessert table?
Yes, unlike frozen yogurt versions, this healthy peppermint bark holds its snap at cool room temperature for up to one week. Keep the platter away from direct heat, sunlight and warm ovens, since the white layer softens faster than the dark. For an all day party in a warm room, nest the serving platter over a tray of ice.
Can I make this bark without candy canes?
Absolutely. Crushed sugar free peppermint candies give the same crunch with less sugar, and crushed freeze dried raspberries add tartness plus a beautiful red color. Cacao nibs or finely chopped toasted pistachios also work for a more grown up topping. Whatever you choose, sprinkle it on while the white layer is still wet so it sticks.
Healthy Peppermint Bark
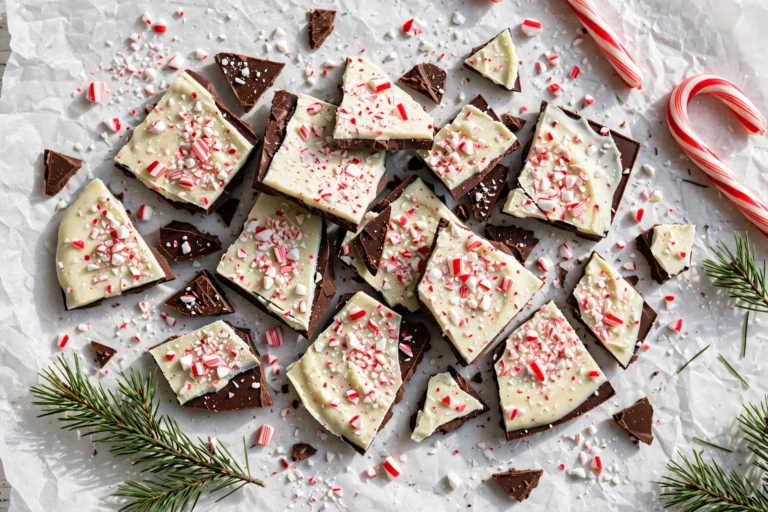
A no bake double layer peppermint bark with dark chocolate and creamy white chocolate, real peppermint extract and crushed candy cane on top. No refined sugar, holds its snap at cool room temperature, perfect for holiday gift boxes.
- Total Time: 1 hour 20 minutes
- Yield: 24 pieces 1x
Ingredients
- 8 ounces (225 g) dark chocolate, 70% cacao or higher, chopped
- 1 tablespoon coconut oil
- 1/2 teaspoon pure peppermint extract
- Pinch of flaky sea salt
- 1/2 cup (110 g) food grade cocoa butter, chopped
- 1/4 cup (60 g) coconut butter, softened
- 3 tablespoons pure maple syrup
- 1/2 teaspoon pure peppermint extract
- 1/2 teaspoon pure vanilla extract
- Pinch of fine sea salt
- 3 to 4 candy canes, crushed into small pieces
Instructions
- Line a rimmed quarter sheet pan (9 x 13 inches) with parchment paper, leaving overhang on two sides. Crush the candy canes in a sealed zip top bag with a rolling pin until you have small shards and crumbs.
- Melt the dark chocolate and coconut oil in a microwave safe bowl in 30 second bursts, stirring between each, until smooth and glossy.
- Stir the peppermint extract and flaky sea salt into the dark chocolate, then pour onto the pan and spread into an even layer about one quarter inch thick.
- Refrigerate the dark layer for 12 to 15 minutes, until matte and firm but still slightly tacky to a light touch.
- Melt the cocoa butter gently in a clean dry bowl, then whisk in the softened coconut butter until completely smooth.
- Whisk the maple syrup, peppermint extract, vanilla extract and fine sea salt into the white mixture until combined.
- Pour the white mixture over the partially set dark layer and spread gently to the edges without pressing down.
- Sprinkle the crushed candy canes evenly over the white layer, pressing larger pieces in very lightly so they stick.
- Refrigerate the whole pan for at least 45 minutes, until the bark is completely firm and cold.
- Lift the bark out using the parchment overhang and break into irregular pieces by hand, or cut with a large sharp knife warmed under hot water and dried.
- Prep Time: 15 minutes
- Cook Time: 5 minutes