Homemade ice cream recipe

7 Irresistible Homemade Ice Cream Recipes to Savor

Picture this: a warm summer afternoon, the sun painting golden hues across your backyard, and the laughter of family and friends intermingling with the gentle hum of nature. In the midst of this serene setting, you offer a delightful bowl of homemade ice cream. The creamy texture melts effortlessly on your tongue, awakening your senses with rich, natural flavors. It’s moments like these that remind us of the simple joys in life, the kind that nourish both the body and soul.

Why This Recipe Works

Creating homemade ice cream is akin to crafting a masterpiece. When you make ice cream at home, you hold the power to select pure, wholesome ingredients, ensuring every scoop is a testament to quality and taste. This recipe works because it blends the simplicity of a few key ingredients with the magic of culinary culinary techniques designed to create a creamy, silky texture. The balance of sweetness and flavor is meticulously crafted to offer an indulgence that is both satisfying and blissful.

Flavor and Texture Profile

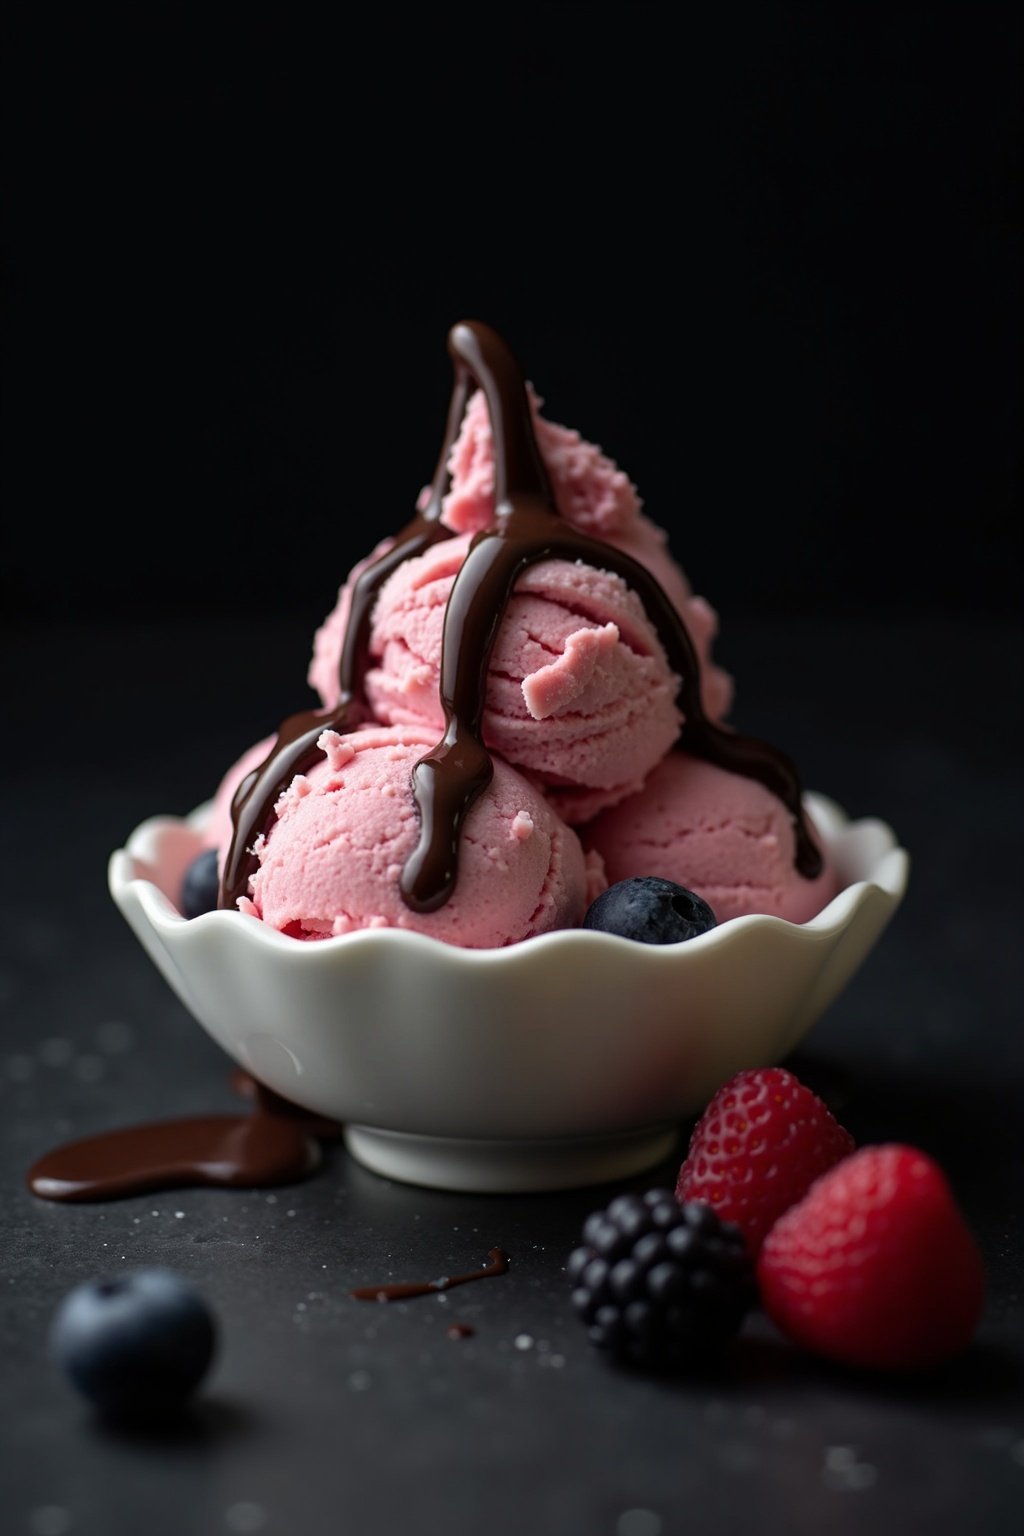
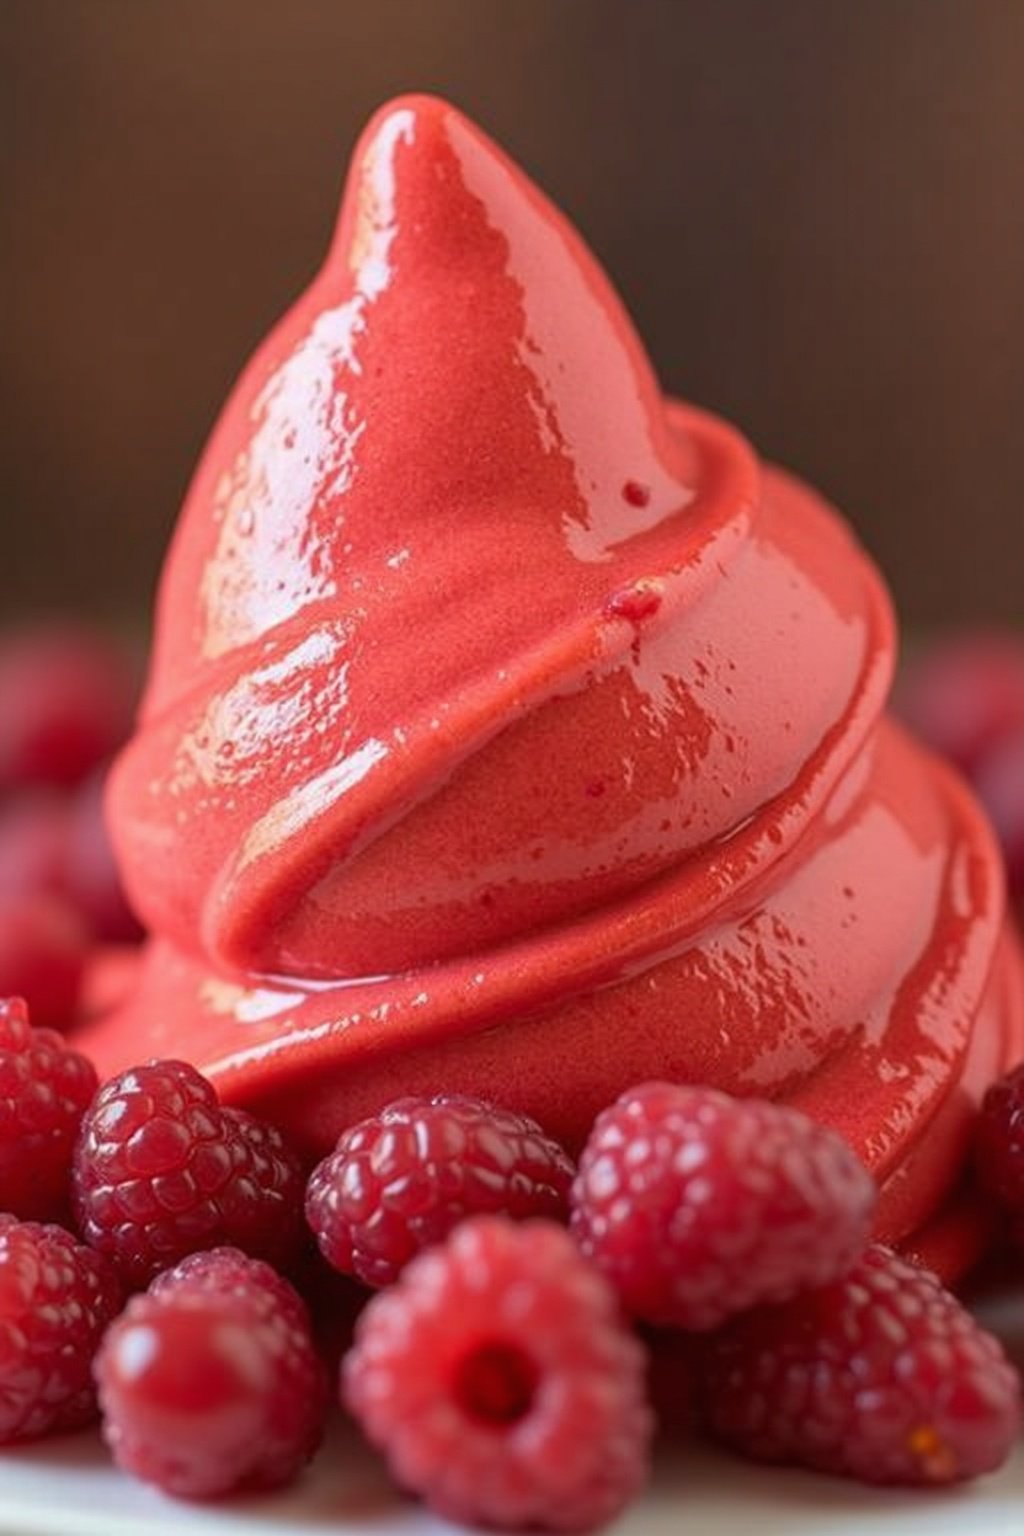
Homemade ice cream offers a rich tapestry of flavors, ranging from classic vanilla to exotic coconut and mango fusions. The texture of homemade ice cream is luxuriously creamy, setting it apart from store-bought varieties. The secret to this lies in the slow churning process and the careful selection of ingredients that ensure a smooth, velvety finish that coats the palate beautifully.

Ingredients

  • 2 cups of heavy cream
  • 1 cup of whole milk
  • 3/4 cup of granulated sugar
  • 1 tablespoon of pure vanilla extract
  • Pinch of sea salt
  • Optional flavors:

– 1/2 cup of fresh fruit purees (for fruit variations)

– 1/4 cup of natural cocoa powder (for chocolate variation)

Prep time: 20 minutes

Cook time: 25 minutes

Step by Step Instructions

  1. Prepare the Base: In a medium saucepan, combine the heavy cream, whole milk, and sugar. Heat the mixture over medium heat, stirring occasionally, until the sugar dissolves completely. Avoid boiling.
  1. Infuse Flavor: Remove from heat and stir in the vanilla extract and a pinch of salt. For flavored variations, add your fruit puree or cocoa powder at this stage. Mix well until fully incorporated.
  1. Chill the Mixture: Pour the mixture into a bowl and cover with plastic wrap, ensuring the wrap touches the surface to prevent a skin from forming. Refrigerate for at least 4 hours or overnight for best results.
  1. Churn the Ice Cream: Once chilled, pour the mixture into an ice cream maker and churn according to the manufacturer’s instructions, typically about 20-25 minutes, until it reaches a soft-serve consistency.
  1. Freeze Until Firm: Transfer the churned ice cream into an airtight container. Freeze for an additional 2-4 hours to allow the homemade ice cream to firm up to a scoopable texture.

Homemade ice cream close-up

Success Tips

  • Quality Ingredients: Use high-quality milk, cream, and natural flavorings for the best results.
  • Chill Thoroughly: Ensure the mixture is adequately chilled before churning to enhance texture.
  • Avoid Over-churning: Stop churning once the desired consistency is reached to prevent a grainy texture.

Health Benefits

Homemade ice cream offers a wholesome treat with several health benefits:

  • Natural Ingredients: Free from preservatives and artificial additives.
  • Customizable for Dietary Needs: Easily adapted for lactose-free or vegan diets.
  • Portion Control: Making ice cream at home allows for better portion management, aligning with personal health goals.

Storage

Store homemade ice cream in an airtight container in the freezer. To prevent freezer burn, press a piece of plastic wrap against the surface of the ice cream before sealing. Homemade ice cream is best enjoyed within 2 weeks to maintain optimal flavor and texture.

Conclusion

Crafting homemade ice cream is an art that brings joy and satisfaction to any occasion. From its natural ingredients to the luxurious texture, every scoop is a celebration of flavor and craftsmanship. Indulge in the pleasure of homemade ice cream, and create lasting memories with loved ones one delightful spoonful at a time.

Warm regards,

Sam Razal

'); printWin.document.write(content); printWin.document.write(''); printWin.document.close(); printWin.print(); }
Homemade ice cream recipe

Homemade ice cream

Prep: 20 minutes Cook: 25 minutes Yields: 4 servings

Ingredients

  • 2 cups of heavy cream
  • 1 cup of whole milk
  • 3/4 cup of granulated sugar
  • 1 tablespoon of pure vanilla extract
  • Pinch of sea salt
  • Optional flavors:
  • Quality Ingredients: Use high-quality milk, cream, and natural flavorings for the best results.
  • Chill Thoroughly: Ensure the mixture is adequately chilled before churning to enhance texture.
  • Avoid Over-churning: Stop churning once the desired consistency is reached to prevent a grainy texture.
  • Natural Ingredients: Free from preservatives and artificial additives.
  • Customizable for Dietary Needs: Easily adapted for lactose-free or vegan diets.
  • Portion Control: Making ice cream at home allows for better portion management, aligning with personal health goals.

Instructions

  1. Prepare the Base: In a medium saucepan, combine the heavy cream, whole milk, and sugar. Heat the mixture over medium heat, stirring occasionally, until the sugar dissolves completely. Avoid boiling.
  2. Infuse Flavor: Remove from heat and stir in the vanilla extract and a pinch of salt. For flavored variations, add your fruit puree or cocoa powder at this stage. Mix well until fully incorporated.
  3. Chill the Mixture: Pour the mixture into a bowl and cover with plastic wrap, ensuring the wrap touches the surface to prevent a skin from forming. Refrigerate for at least 4 hours or overnight for best results.
  4. Churn the Ice Cream: Once chilled, pour the mixture into an ice cream maker and churn according to the manufacturer’s instructions, typically about 20-25 minutes, until it reaches a soft-serve consistency.
  5. Freeze Until Firm: Transfer the churned ice cream into an airtight container. Freeze for an additional 2-4 hours to allow the homemade ice cream to firm up to a scoopable texture.
Enjoy your meal! visit NourishTable.

Frequently Asked Questions

Prepare the Base: In a medium saucepan, combine the heavy cream, whole milk, and sugar. Heat the mixture over medium heat, stirring occasionally, until the sugar dissolves completely. Avoid boiling.

2. Infuse Flavor: Remove from heat and stir in the vanilla extract and a pinch of salt. For flavored variations, add your fruit puree or cocoa powder at this stage. Mix well until fully incorporated.

Chill the Mixture: Pour the mixture into a bowl and cover with plastic wrap, ensuring the wrap touches the surface to prevent a skin from forming. Refrigerate for at least 4 hours or overnight for best results.

4. Churn the Ice Cream: Once chilled, pour the mixture into an ice cream maker and churn according to the manufacturer’s instructions, typically about 20-25 minutes, until it reaches a soft-serve consistency.

Freeze Until Firm: Transfer the churned ice cream into an airtight container. Freeze for an additional 2-4 hours to allow the homemade ice cream to firm up to a scoopable texture.

{image_2}

## Success Tips

– Quality Ingredients: Use high-quality milk, cream, and natural flavorings for the best results.
– Chill Thoroughly: Ensure the mixture is adequately chilled before churning to enhance texture.
– Avoid Over-churning: Stop churning once the desired consistency is reached to prevent a grainy texture.

## Health Benefits

Homemade ice cream offers a wholesome treat with several health benefits:

– Natural Ingredients: Free from preservatives and artificial additives.
– Customizable for Dietary Needs: Easily adapted for lactose-free or vegan diets.
– Portion Control: Making ice cream at home allows for better portion management, aligning with personal health goals.

## Storage

Store homemade ice cream in an airtight container in the freezer. To prevent freezer burn, press a piece of plastic wrap against the surface of the ice cream before sealing. Homemade ice cream is best enjoyed within 2 weeks to maintain optimal flavor and texture.

## Conclusion

Crafting homemade ice cream is an art that brings joy and satisfaction to any occasion. From its natural ingredients to the luxurious texture, every scoop is a celebration of flavor and craftsmanship. Indulge in the pleasure of homemade ice cream, and create lasting memories with loved ones one delightful spoonful at a time.

Warm regards,
Sam Razal

## FAQ

### 1. Can I make homemade ice cream without an ice cream maker?
Yes, you can! While an ice cream maker provides the best texture, you can use the no-churn method by freezing the mixture and stirring every 30 minutes until set.

### 2. How can I make vegan homemade ice cream?
Replace dairy milk and cream with coconut milk or almond milk and use a plant-based sweetener to make vegan homemade ice cream.

### 3. What is the shelf life of homemade ice cream?
Homemade ice cream is best consumed within two weeks to enjoy peak flavor and texture.

### 4. Can I use alternative sweeteners for homemade ice cream?
### 5. How do I prevent ice crystals from forming in homemade ice cream?
Ensure your base is thoroughly chilled before churning, and store the ice cream in an airtight container to minimize air exposure.

Similar Posts